
"Maximizing the Beauty of Your Outdoor Flower-Filled Studio: 5 Essential Planting Plan Tips"
- Naomi Odiwe
- Apr 17, 2024
- 3 min read
Updated: Apr 18, 2024
My choice of flowers:
The short video below shows the planting plan I am going to follow around the garden.
As my garden is on several tiers stepping down as you move away from the house, the soil is free draining so all the plants I have chosen should cope well in my free-draining soil. I have not purchased all of the plants yet as I want to get the hard landscaping shown in a previous post done first.
I used a wonderful book on colour schemes for gardens (that I have owned for years), to plan out my planting colour scheme. The book is called 'Colour Schemes For The Flower Garden - The Illustrated Gertrude Jekyll' first published in 1908, then updated in 1914 to its current form. The copy I have was published by Windward, an imprint owned by WH Smith & Sons, with the following ISBN 0 7112 0485 3. This book has wonderful little watercolour planting plans with a huge selection of plants colour co-ordinated and placed so that smaller plants are at the front of the beds with the plants rising in height as you go towards the back of each bed. Its a treasure trove of plants, advice, ideas and watercolour flower illustrations.
MY 5 TOP TIPS FOR DESIGNING A STRIKING PLANTING PLAN:
Group flower colours together: My first tip when planning your outdoor flower studio is to position warm & cool colours together so that you get a variety of colour in each easel location rather than keeping to the same colour in each bed as shown in the Gertrude Jekyll book. I love cool blues and lilacs teamed with searing pinks and salmons with the addition of creams & whites but if you like strong colour combinations go with more vibrant colour combos. This is something I will expand on in my next post.
From Large to Small: Check the mature height of each plant at the garden centre before you buy and position the tallest plants at the back of your beds so that they don't obscure any foreground planting.
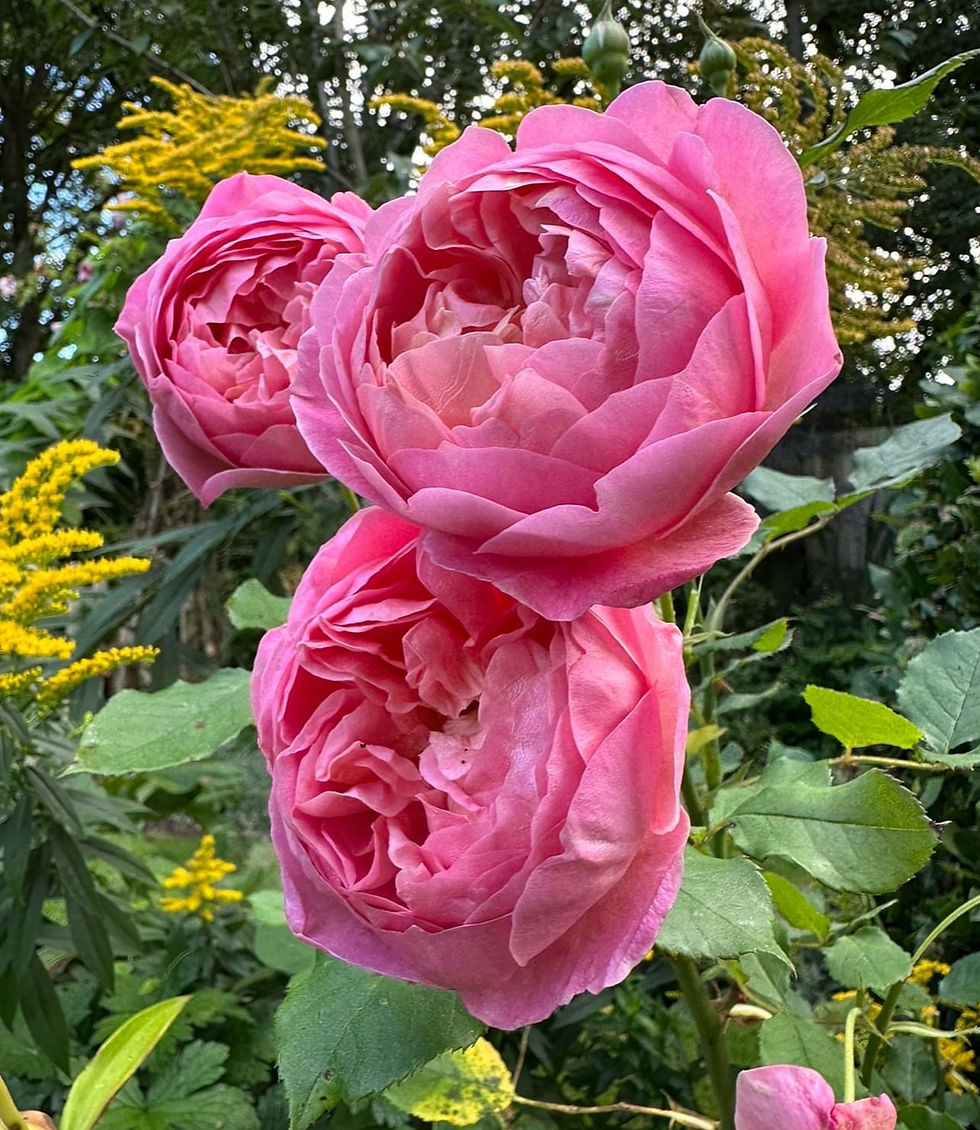
Flower Shape: Think about the shape of the flowers you are planting; soft voluminous blooms will work well in combination with tall, narrow, spiky blooms. In one of my beds I am going to plant blue delphiniums behind a tearose and a peony with evergreen jasmine & honeysuckle climbing the fence as a backdrop.
Leaf Shape: Think about the leaf shape of each plant, the more variation you get into each vista the more visually interesting each composition will be.
How to handle fences: Use perimeter fences for climbers or espalier trees so that you have an interesting green backdrop for your compositions. I have chosen either soft, creamy whites or pale yellow blooms for all the climbers on the fences in my garden so that the colours of any blooms in the foreground are not over powered by blooms in the background. This will help to give a greater sense of depth to my compositions. Fences can also be very attractive in themselves and especially as part of a painting. I am adding some white trellis & arch top fence panels across the middle of my garden to give support for tearoses & peonies that will be growing in a bed in front of them. I am also putting these panels in because I want to have the structure of the diamond trellis and curved tops of these panels as a feature in some of my paintings.

MY NEXT POST:
In planning my garden I considered many other vibrant flower combinations from a purely artistic point of view so please check back for other colour combs that will also work well in any painting composition.
ART UPDATE:
Below is a time lapse of a loose floral painting that I recently completed.
Please comment, send me any questions and subscribe below to get notifications and to follow my journey.
Thank you for reading.
.


Comments